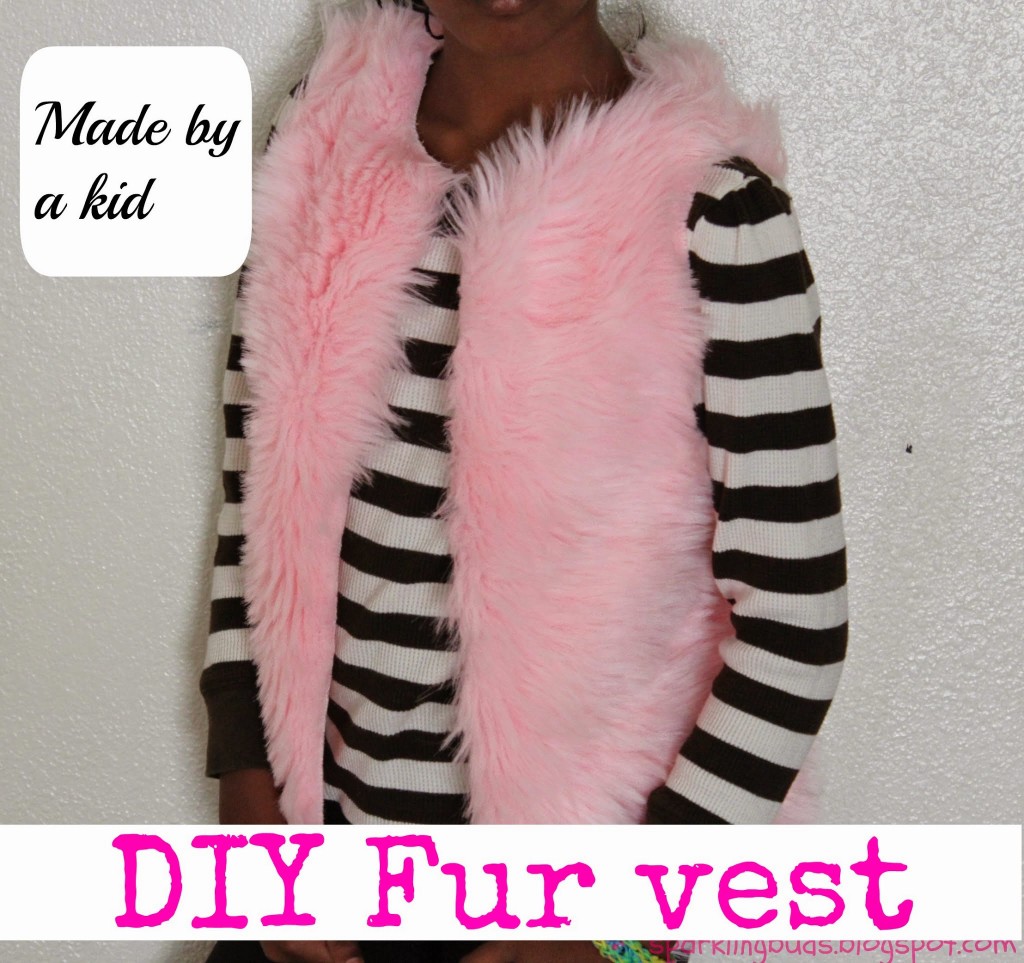
We made a beautiful vest out of the fur cloth which was lying in our house for past 3 years. My daughter did the entire vest by herself except cutting. She had hand sewn the entire project.

Materials needed:
1. 1/2 to 1 yard of fur cloth (All fabric shops have that)
2. Scissors
3. Needle
4. Thread
5. Newspaper
6. Marker
7. A sleeveless top
Method:
Step 1: Trace the sleeveless top on a newspaper. Make 1/2 inches bigger on the sides and shoulder portions for seam allowance.

Step 2: Cut out the tracing. This is our template for the vest.

Step 3: Turn the fabric over and pin the template to the fabric. Caution: Please check whether fur is in the right direction. We did not check and realized after cutting. Now our fur is pointing in all wrong directions :-((

Step 4: Trace the template twice – one for the front and another for the back. Cut out the pieces.

Step 5: After cutting, I cut the neck portion of one of the pieces little lower. This is the front side.
Step 6: Have the right sides of both the pieces together and sew along shoulders and sides. Please refer the diagram.

Step 7: As I said, my daughter hand sewed the vest. It took her nearly 3 hours to sew.
Step 8: Make a vertical cut at the middle of the front side for opening. The vest is done!


If you found this post useful, pin it or share it! It will keep me motivated. Thank you!

Great Dhiyana. I think Deekshita has more patience and determination in doing this work.Hats off Deekshu!
Thanks Lakshmi! Yes, she has more patience than me 🙂
She stitched the entire coat? Thats amazing! Great job dear!
And I can understand your point in wearing it to the park, watever the temperature might be!! 🙂
What a fun project! I am SO impressed that she made this all by herself 🙂
Thanks for sharing at #Pintorials this week
Very impressive for a 7 year old! Great project and thanks for sharing with After School link up!