
The beauty of crayon batik is it can be done with simple and easily available materials. Batik has been done in clothes for centuries and it is basically resisting wax with dye. We got the inspiration for crayon batik from makeitawonderfullife. After we discussed and saw few of the images, we started our crayon batik.
Materials needed:
1. Crayons
2. White paper – We used copier paper
3. Water color
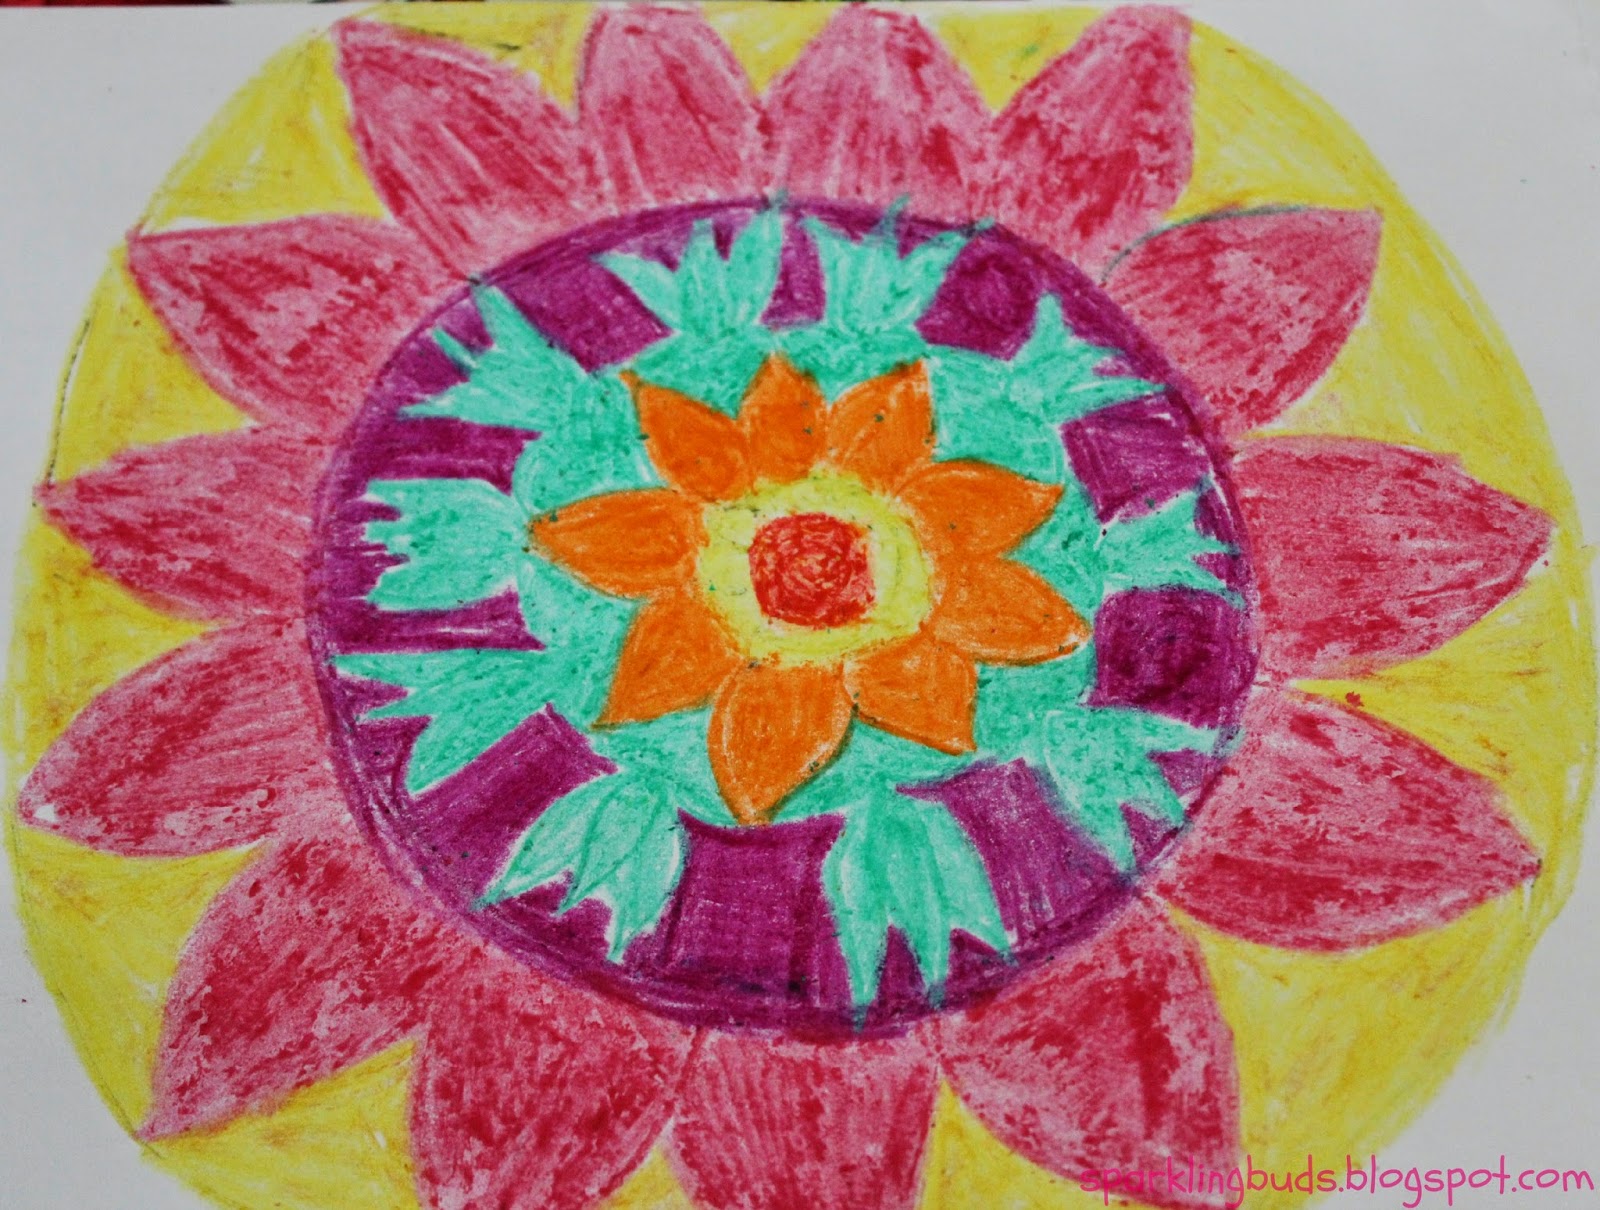
Draw and color a picture pressing hard with crayons. Fill the spaces completely inside the picture. I drew a flower design and my daughter did sun with flower inside.
 .
.
Once the picture is done, crumble the paper. Smooth out and crumble again. We did the crumbling for about 4 times. Smoothing out after the 3rd time was a little bit of challenge as the paper was very soft and was about to tear.
My daughter was very hesitant at first to crumble the paper. She needed a lot of assurance that it was a part of the procedure.


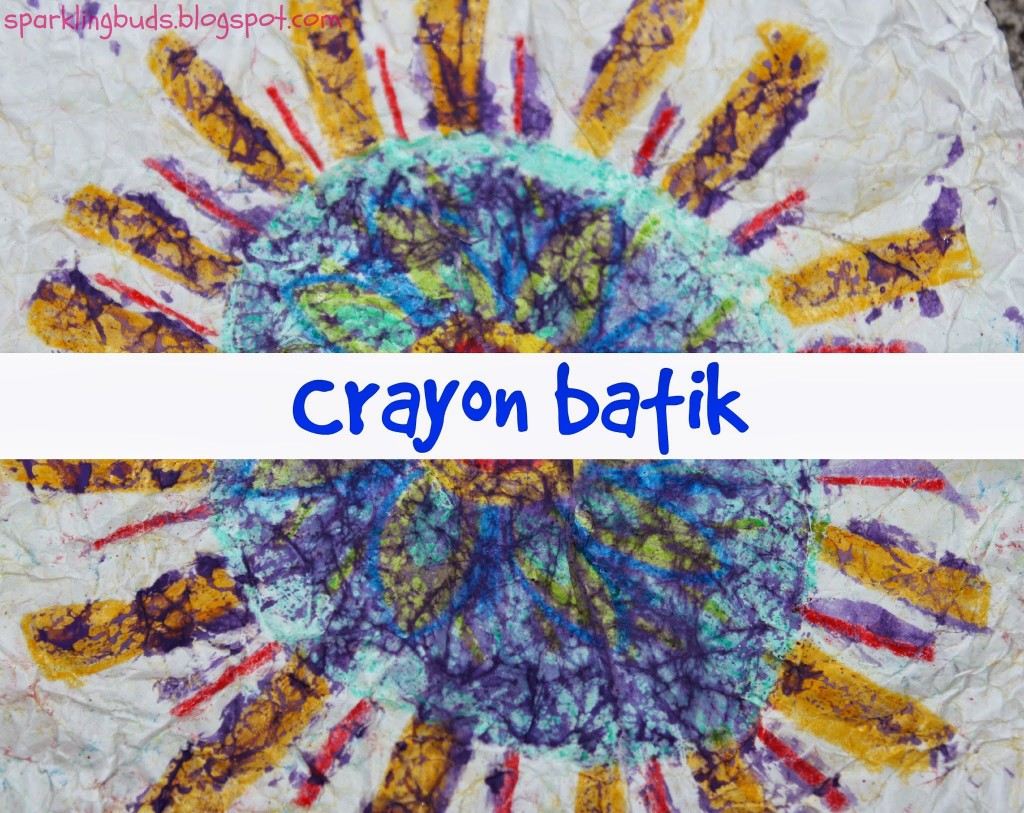
Once the crumbling is done and the paper is smoothed out, apply the water color over the picture. Crumbling created cracks in the picture and water color filled the cracks resisting the other portion. I chose to color mine with black and my daughter chose purple color.

Both of us did not press hard while coloring the flower portion of ours as they were not visible in the batik. Over all we got introduced to ancient batik technique with simple materials.
We did our pictures based on Spring but it can be customized for any occasions.
Thanks for reading the post. Hope you liked it! You may be interested in our Poppy flower painting or Butterfly sun catcher.

very cool! I wonder if you could use this method and some tie dye to make a fabric batik? That could be a fun summer adventure! Dropping by from the We Made That Wednesday linky
Thanks for your visit! Yeah.. Trying out fabric batik can be a fun summer adventure.
Oh, those are so pretty! I wonder if there’s a way to then transfer the design to fabric. Thanks for the inspiration!
(Visiting from We Made That.)
Thanks Rebekah for your visit! I am not sure about transferring the design to fabric. We may directly try on fabric.
What if you used an iron??
I did not think of that Darrell. Will surely try that. Thanks for the suggestion!
Nice …will try and see
Thanks Poetic Mommy
Your pictures look wonderful. What an effective easy – no-heat batik technique.
Thanks Sandi for your visit and comments!
My little artist will love this!
Thanks The Hills. Please share what your little artist creates.
Pretty! And thank you for linking back to my blog. 😀
I should thank you for your great blog. Truly inspiring. Thank you.
What a fun idea! My kids would love this art project!