
My daughter wanted to do something very colorful to give to her school fuel. She decided to draw flowers but was not interested in regular drawing. We chose to do using aluminium foil. This is the first time we tried and the painting came out beautiful.
Affiliation links are used for easy reference. See the full disclosure policy here. Thanks!
Materials needed :
1. Canvas – We had canvas at home, otherwise a piece of cardboard will do
3. Aluminum foil
5. Pencil

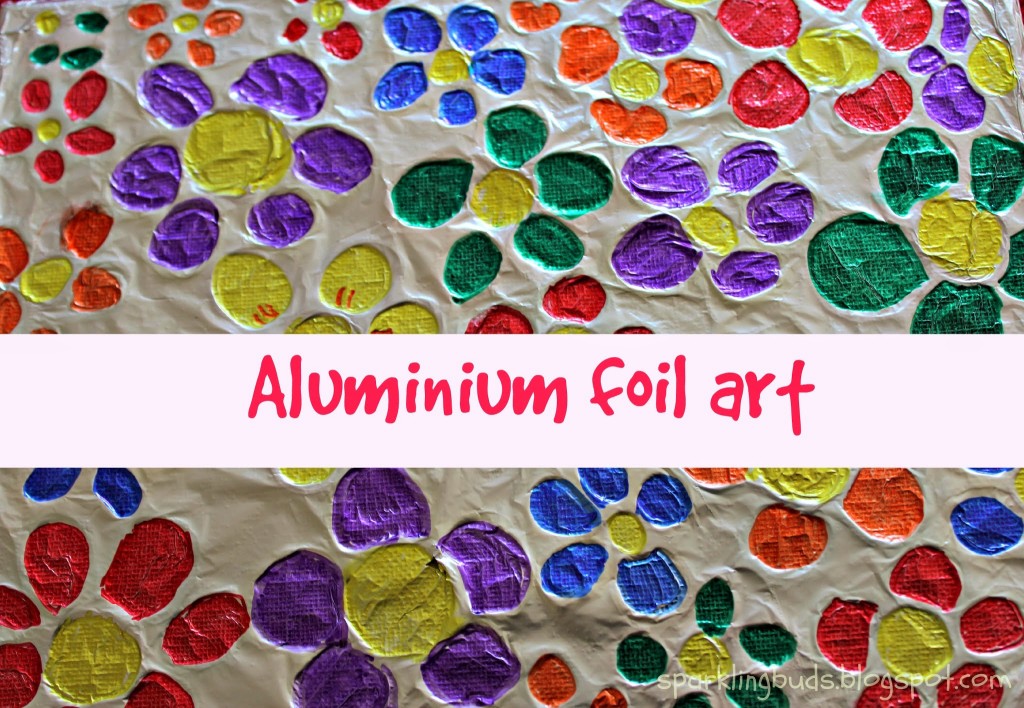
We drew the flowers in the canvas with pencil. Traced the flowers with tacky glue. The purpose of the glue is to create raised section that will show through foil. Let the canvas dry for a day.
When the glue was completely dry, cut the foil slightly bigger than the canvas. Covered the canvas with the foil and folded all four sides to the back. Gently pressed the foil on the canvas with a piece of cloth. The flowers “showed” through the foil.

Colored the flowers with Sharpie permanent makers. Viola!

The art is very colorful and beautiful. It was very easy for my daughter to do. She needed to work gently on the foil and I had to keep on reminding her.
My daughter enjoyed creating the art. She is very proud of her work.
Thank you reading the post. Hope you enjoyed! You may be interested in our other Spring projects.

Your craft is brilliant, as many times as I have mentioned.
Keep it up, Dhiyana! 🙂
Thanks Poonam for your comment!
Nice idea…Thanks for sharing dear…
Thanks Muhil
How beautiful! I’m going to feature this at the We Love Weekends linky tomorrow!
Thanks for the feature Emma!