I have another blog dheekshu.blogspot.com. There are 400+ posts in that blog and I have planned to write a post here every Friday under the name Flashback Friday, which was already published in that blog .
This post was published in March 2013 when my daughter was 6 year old. It is about the flowers we made using coffee filters. She enjoyed making those flowers and the flowers are still in our dinning table.

Materials Needed
1. Coffeer Filters
2. Food coloring or Liquid paint
3. Straw or Pipe cleaners
4. Tape
Step 1:
Let the filters sit in the food colored water / liquid paint for 5 minutes. We need more than 2 filters for a flower. Let the filters dry.
Step 2 :
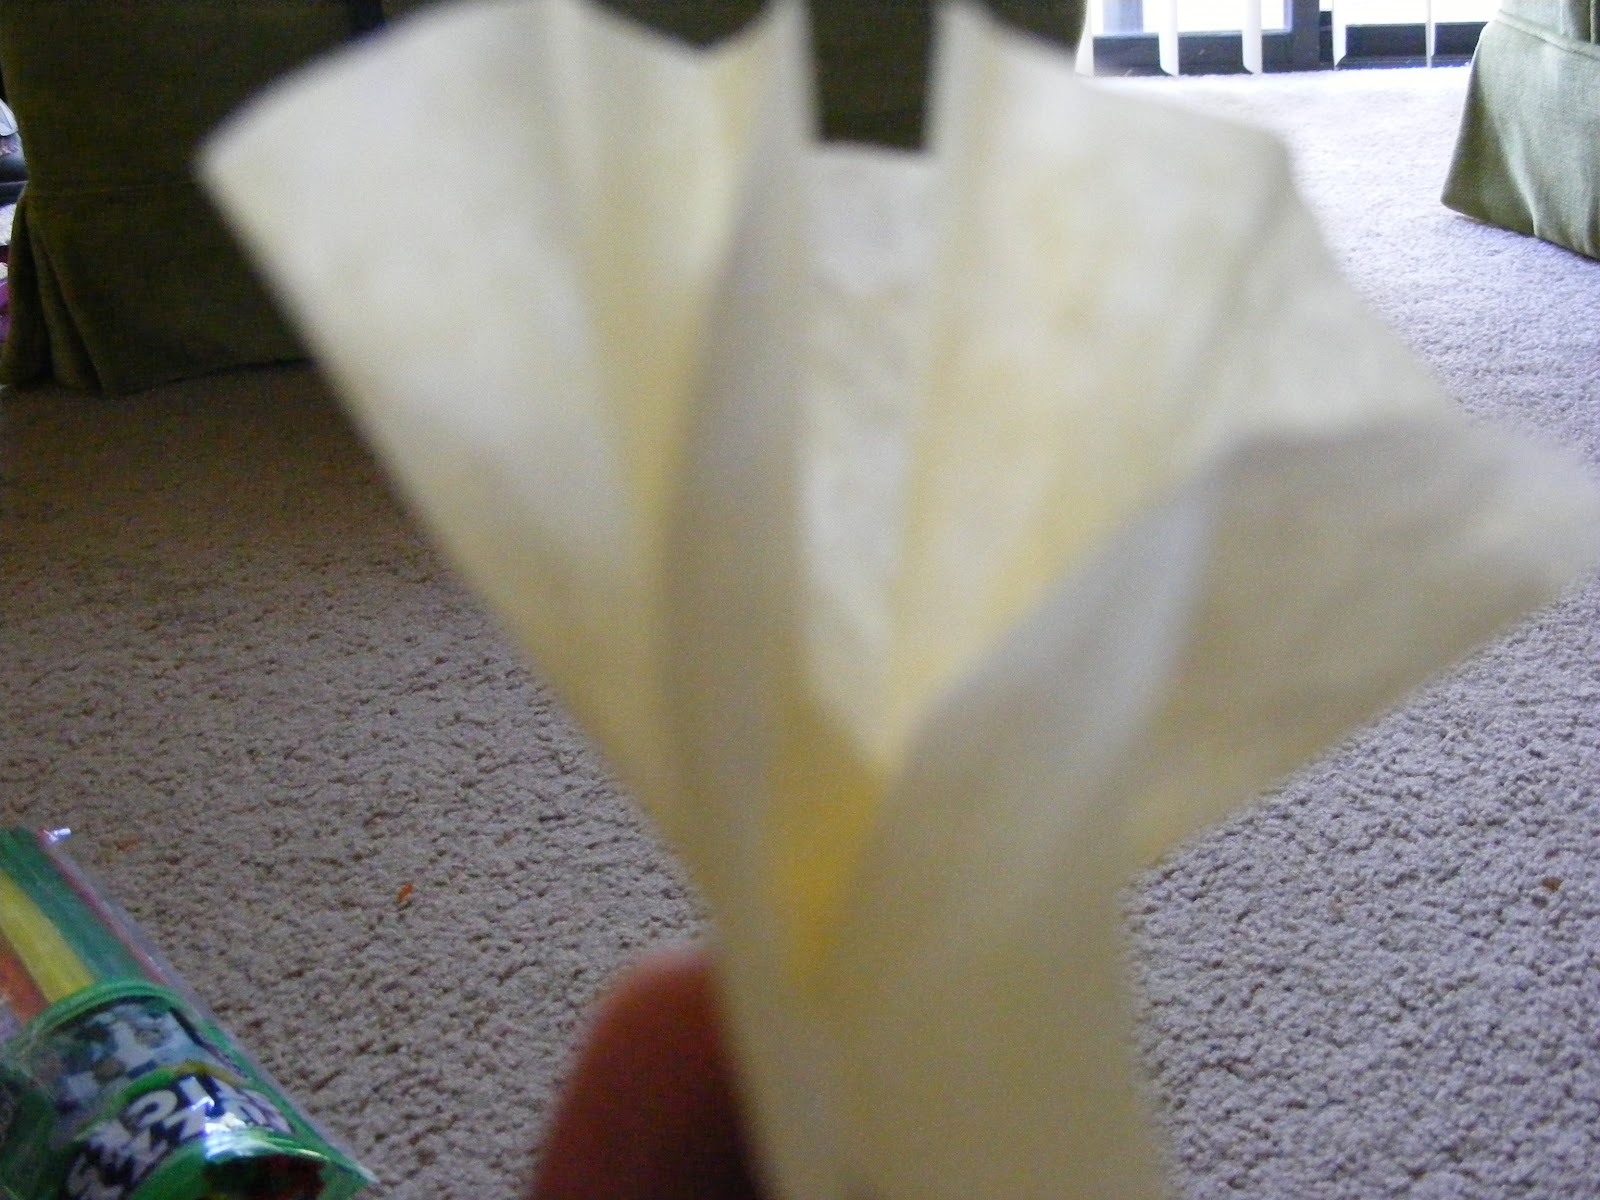
Hold the middle of the filter with your thumb and index finger. With your other hand, bunch up the paper from bottom ( where you are holding) to the top to look like flower. Twist the middle part (again where are holding)

Step 3 :
For the next layer of the flower, cut a very small hole in the middle of the another paper. Insert the flower from the previous step into the hole, again bunch up from the middle to the top. Twist the middle. Now we get 2 layered flower

Step 4 :
Repeat step 3 for the third layer.
You may add more layers if you need bigger flowers.

Step 5 :
Attach the twisted part to the straw or pipe cleaner using the tape.
Flower is ready!
Note : You may use 2 filters for the additional layers as it will speed up the process.
Hope you enjoyed reading the post!!
